
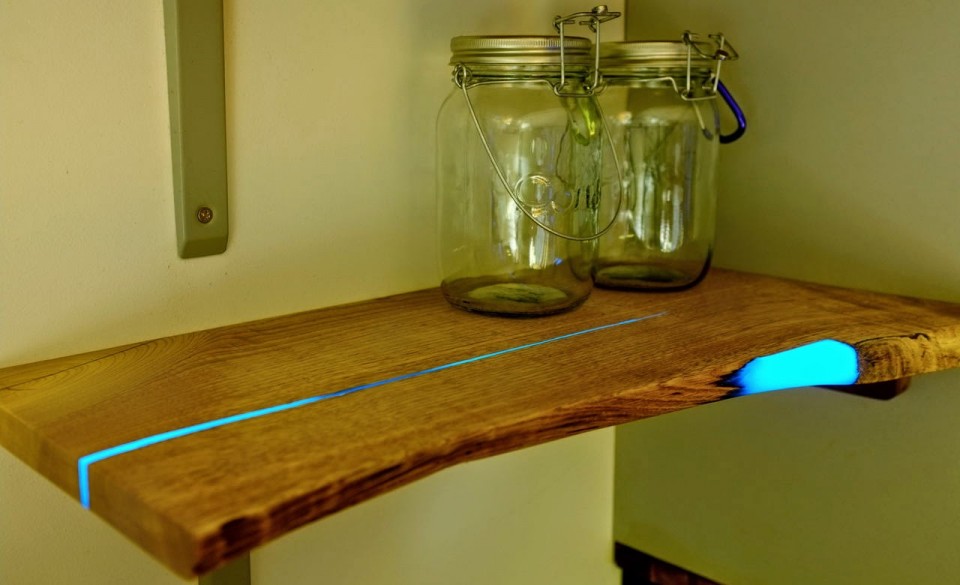
A pair of crafty carpenters have separately arrived at the same conclusion: glow-in-the-dark resin is a really neat way to fill cracks, gaps, splits and other natural or accidental voids frequently found in wood shelves and surfaces.
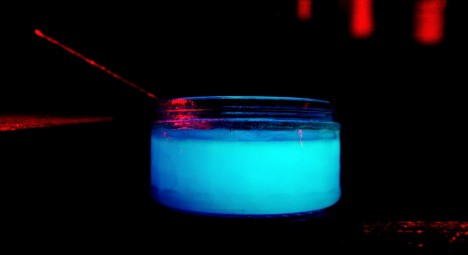
Whether you have a small piece that needs infill or mending or a larger project in the works, one of these approaches may well be ideal for your own do-it-yourself project – basic details are provided below but full instructions on each strategy can be found via links included as well. In each case, the principle ingredients are the same: custom-mixed photoluminescent resin, leveling, cutting, sanding, time and patience.
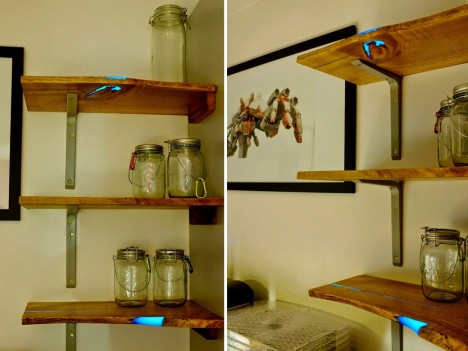
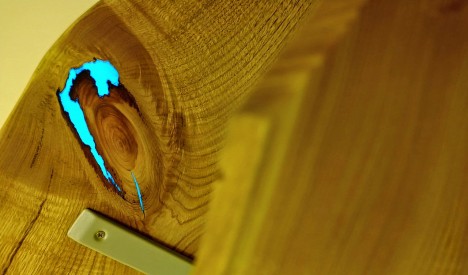
In the first instance, Mat Brown decided to try something other than the standard invisible-style repair to solve the problem of empty space around knots, cracks and pits creating front-facing unevenness in boards to be used as shelving.
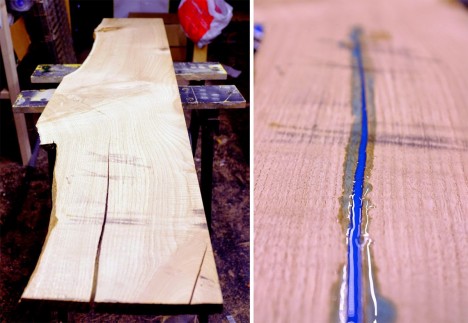
He provides further details on the process over at his blog, but in a nutshell: he used robust aluminum plumbers tape below and on the sides, leveled the surface, then heated up the resin, mixed in the powder and poured in the results. “Now it’s time to mix the resin. Give it a good mixing and then add your pigment. If you warm it up a bit, on a heater or with a hairdryer or something, the bubbles will pop out of it much more easily. Bubbles can ruin resin casts, so carefully mix and warm the resin, then let it sit for a while before pouring.” After a second similar round he cut, sanded and finished the pieces and mounted them on standard wall brackets.

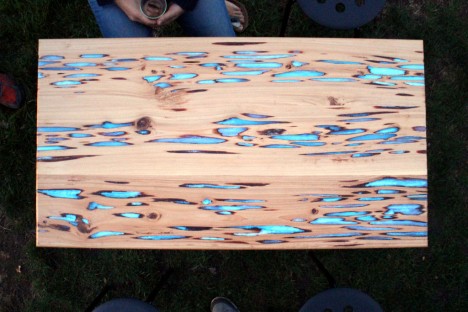
Mike Warren has subsequently brought a similar idea to the table, creating a tutorial for filling in the naturally separation gaps found in a certain species of cyprus, livening up the biscuit-joined surface with bright resin.
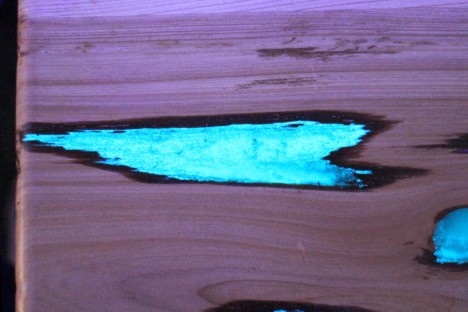
The full illustrated list of 25 steps for this latter version can be seen on Instructables, but in this case a similar process was used, just heavier-duty tools employed (like a drum sander) to keep the workload down because of the more frequent and sizable voids found in ‘pecky cyprus’: “These damaged pockets can be easily removed and create cavities in the wood which are perfect for filling with resin and glow powder. The pockets of damaged (rotten) cypress are soft and can [be cleared] with compressed air and some light digging with a hand tool.” Hat tip to Chris of Colossal for finding both of these projects as well.